Wednesday, 19 June 2013

Grosse Messer


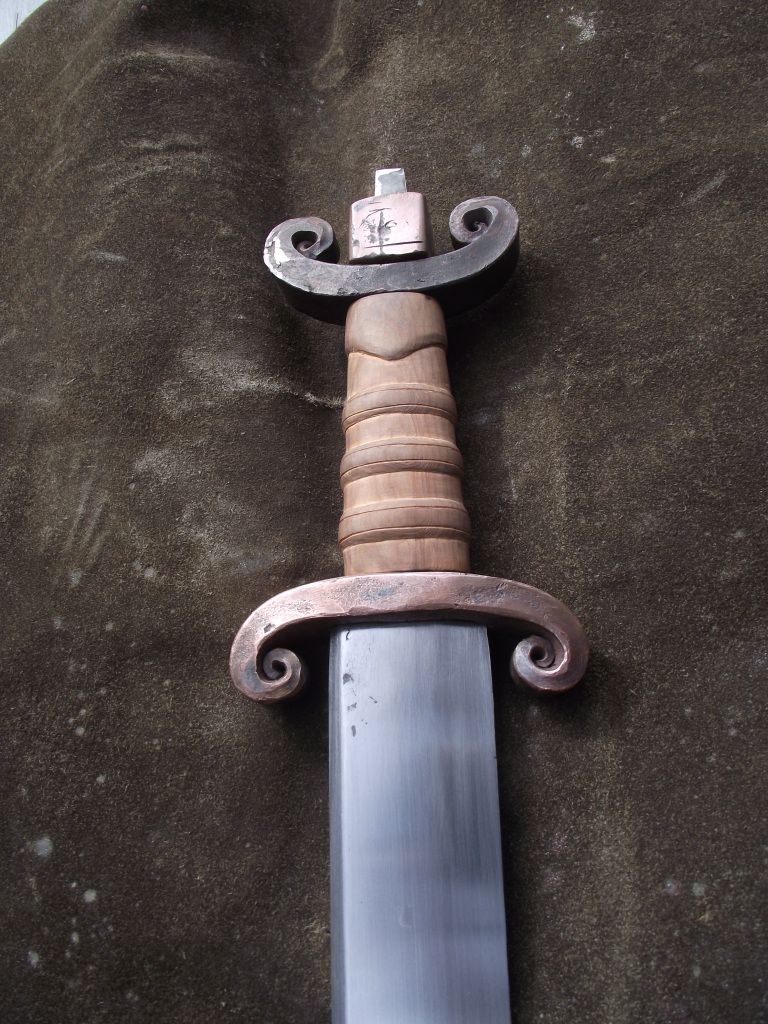
Some time ago I was contacted by a customer to produce for him a blunt, re-enactment sword in the style of a German “Grosse Messer”, meaning literally “big knife”.

These weapons of the renaissance form an intriguing family that take a variety of form and sizes, the style we elected for is of the longest type, a “krieges Messer”, a “war knife", identifying it as a type exclusively intended for use by the professional soldier of the day.  What's unusual about that is that many of the Messers were not exclusively for fighting; many occupied that intriguing place in the contemporary society as tools, status symbols, civilian personal defence and hunting swords. They existed as rudimentary Civilian implements and objects of the elite.

Their name “big knife” does not simply infer that they were large single edge blades, but reveals something of their manufacture as they were made by knife cutlers (a guild distinct from the sword cutlers) and also exploited a legal loop hole of the time that a peasant could not own a sword, yet there were no limits to what defined a knife, so knives became larger.

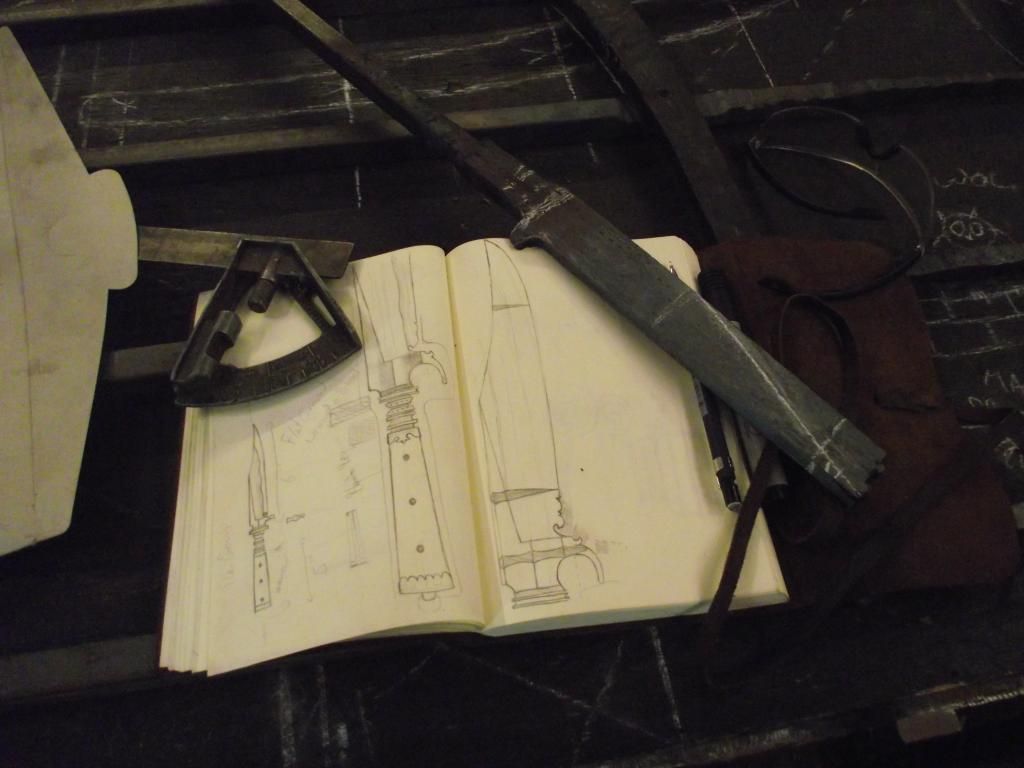
The design of this hand forged re-enactment sword was based on several modern examples including the fine piece by Peter Johnsson, as well as my own research on original pieces. The blade was forged from En9 carbon steel.

This is the story of the sword’s manufacture.
 
The starting stock for the blade was 20 inches of 40x10 En9
 
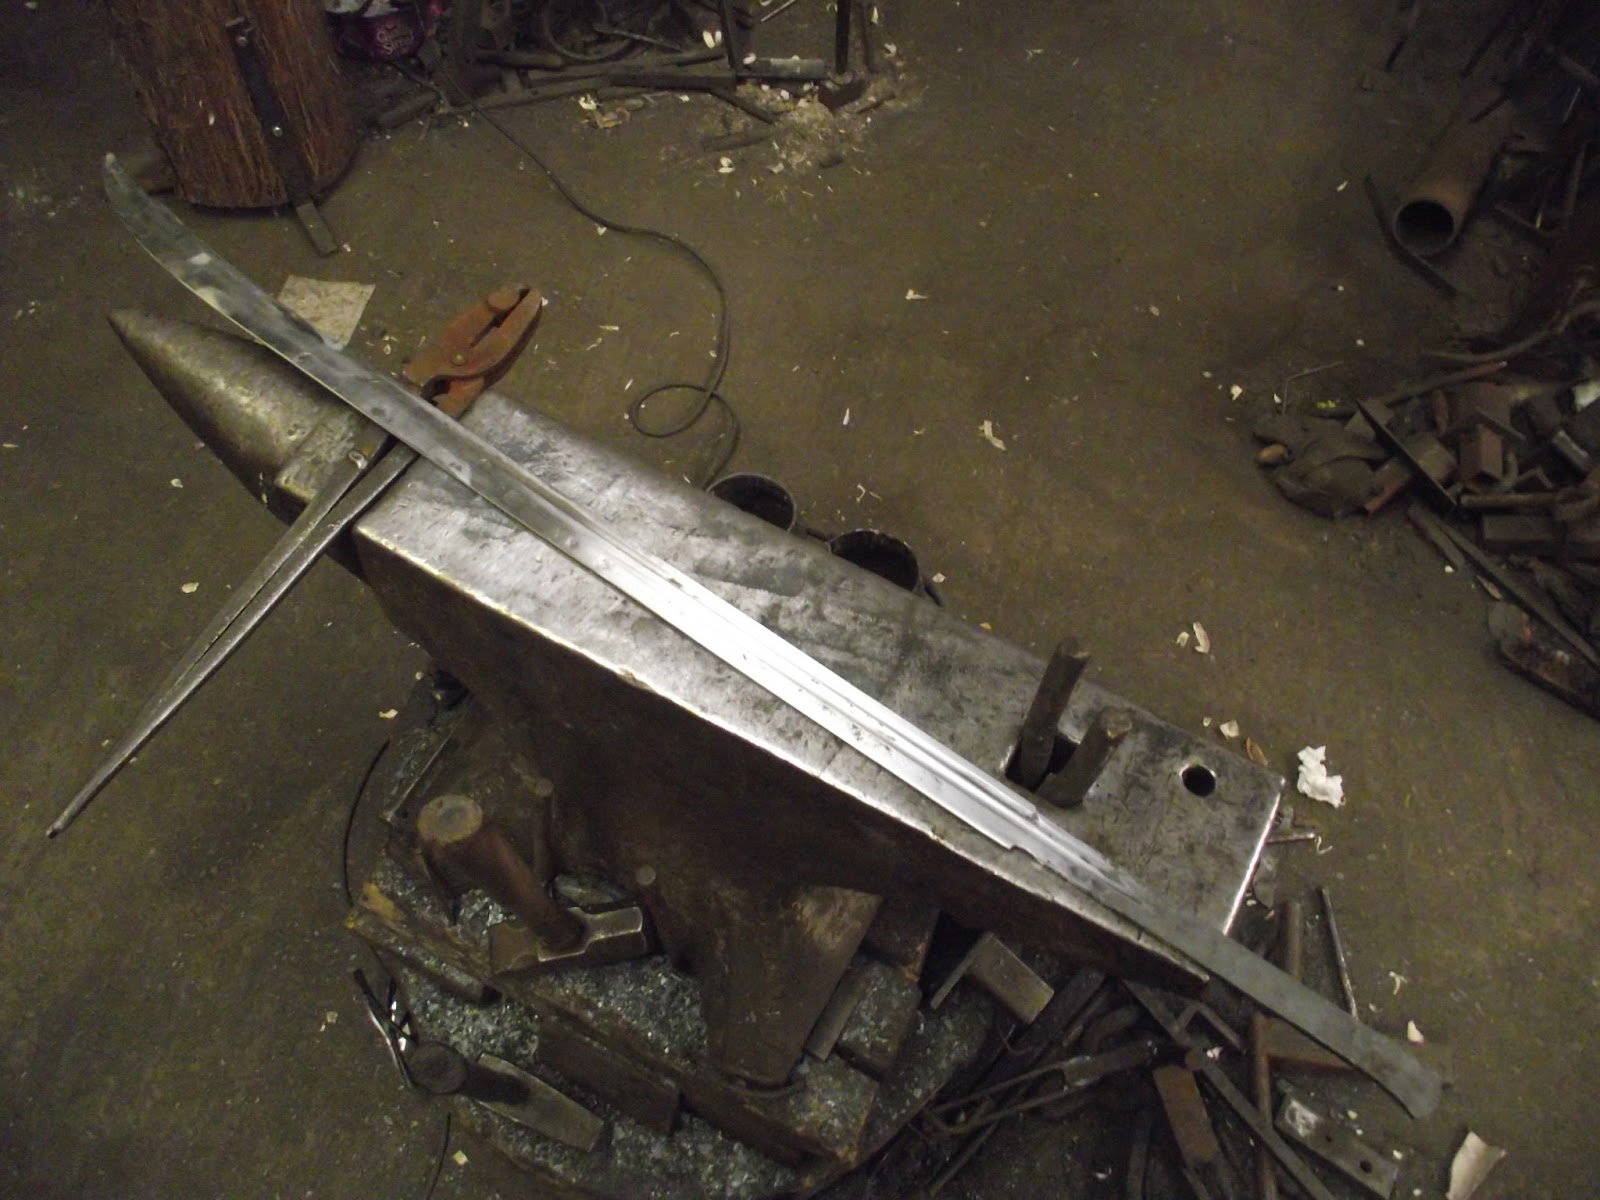
 This was forged out to 44 inches before a clip was forged in and the bevels were established, which produced the natural curve.


Once the outline of the sword had been formed with the bevels roughed forged, the spare material  in the tang end, was cut off to be forged into a punch to cut the hole in the guard.
The design called for a double fuller to be forged in so a tool was made to this, forging from both sides of the blade simultaneously.


Once these were forged, it was time to begin hand polishing  the blade with files and abrasives, the fullers were polished by wrapping 8mm diameter steel rods in abrasive and rubbing in slow even movements to ensure that the fullers terminates gracefully.


Once a rough polish had been achieved it was time to move on to the hilt parts, these were all hand forged from mild steel using a range of techniques.
The starting stock was a piece of 20mm square
 
This was knocked down to something like 16x 25.
 
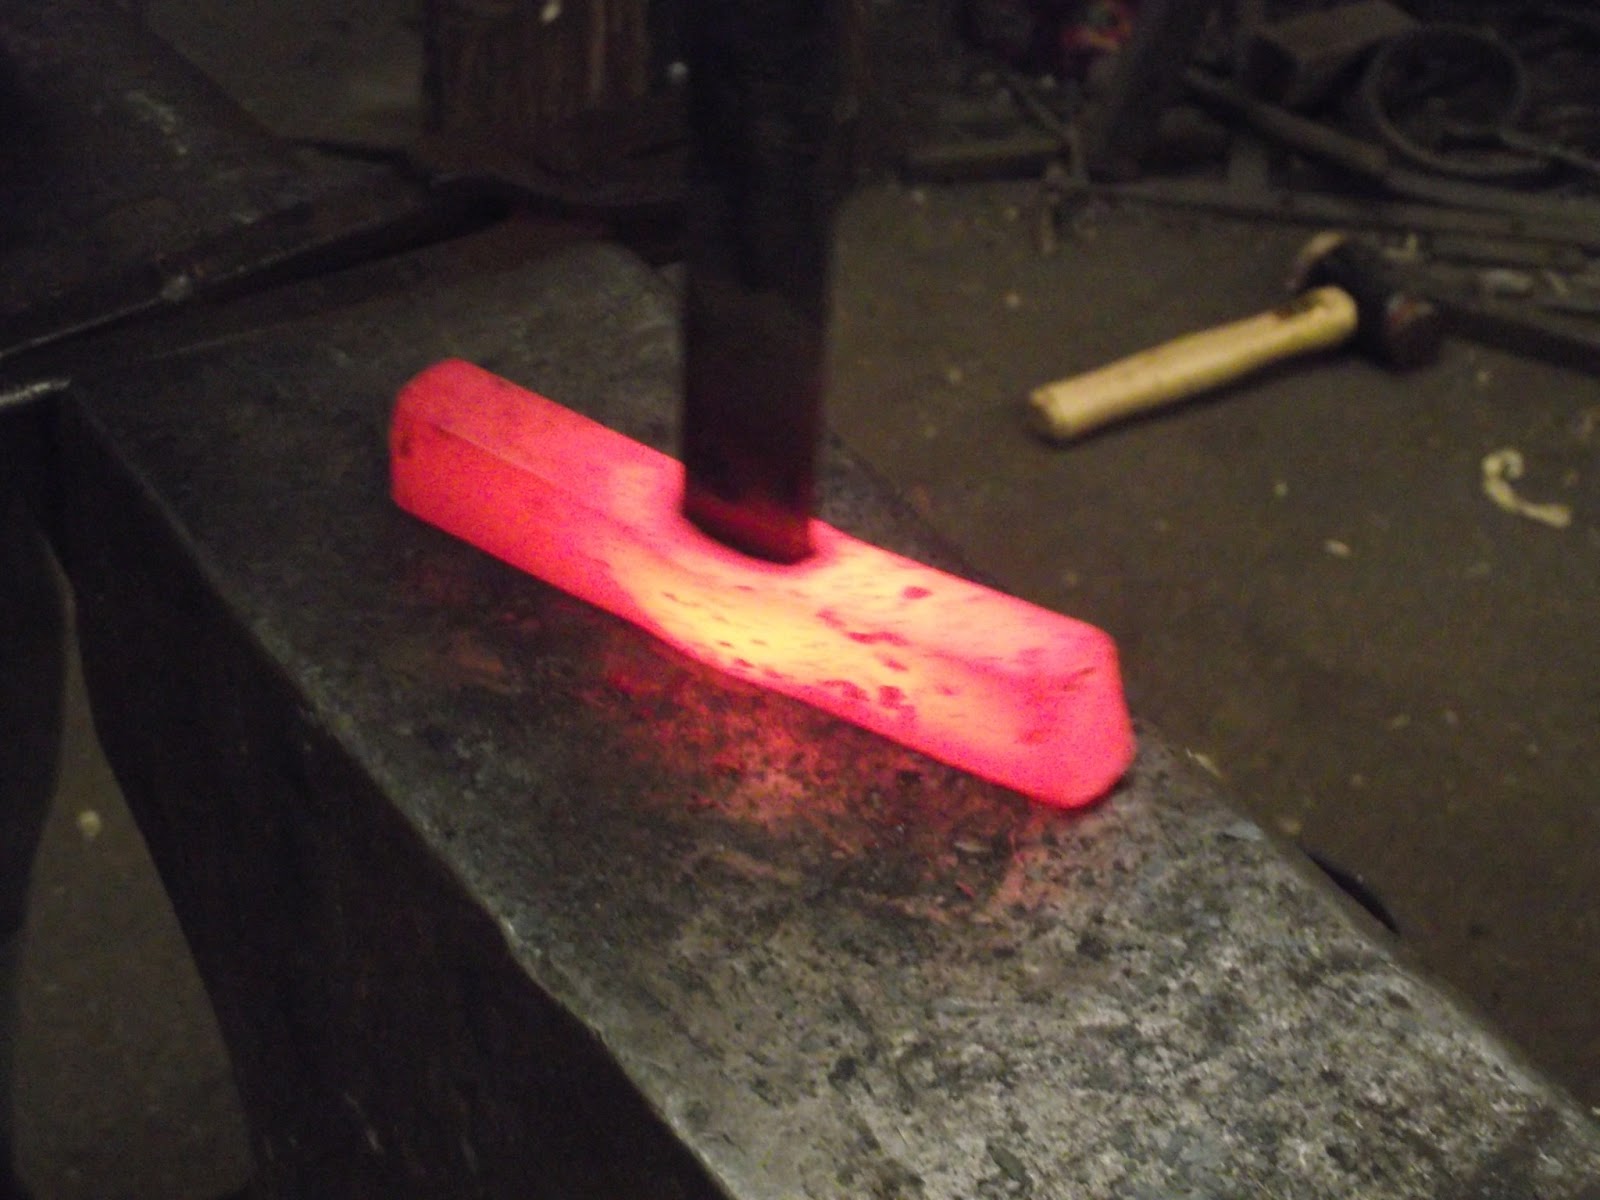
The offcut from the tang was forged into a punch the same width as the widest point on the tang (pommel end) and used to hot punch out the slot.


Once the slot had been cut, the billet was marked out and the sections that would become the quillions were separated using a top set forged some time ago.  Care was taken not to intrude in to the newly punched slot, which would have damaged or distorted it.


The blanks for the quillions were then drawn out under the Goliath power hammer.
 
The Nagel hand guard was forged carefully from one piece.


A large rasp was used to set the shoulder before, finally, a bolster was employ to upset the back and fully square the shoulder. The long rivet or mortise would be trimmed shorter before final assembly of the guard.


After the clamour of forgework comes the inevitable fettling and making of dust, quite course dust at this point, but dust all the same.
The cross piece and the nagel were shaped and formed with files and abrasives until they were In a condition to marry.


These were fitted to the sword and progress could begin on fitting the oak grip and the asymmetric pommel.


Once all the holes had been drilled and the timber fitted, everything was secured.
 
 
Like in the originals, copper shims were carefully fabricated do ensure absolute tightness.
 
Copper tubes with steel rods were used as rivets- this exactly replicates the method used on originals.
The nagel guard was peened into a counter sunk hole on the reverse, piercing the blade securely in position.  Once the mortise had been peened it was nearly invisible.
The timber was sealed with several protective coats of linseed oil, which encourages any interesting aspects of the grain tremendously.
This also prevents filth from the hands marking the wood and the tannins from the oak staining the skin. The contrast between wood, copper and steel was also increased and the object is left with a satisfying variety of textures and colours.
Two astrological symbols were carved into the grip upon the customer’s request and the piece was finished.


Thank you.


Saturday, 6 April 2013

Wood Smithing

To make effective tools it is essential that the smith has an intimate knowledge of how that tool is used.
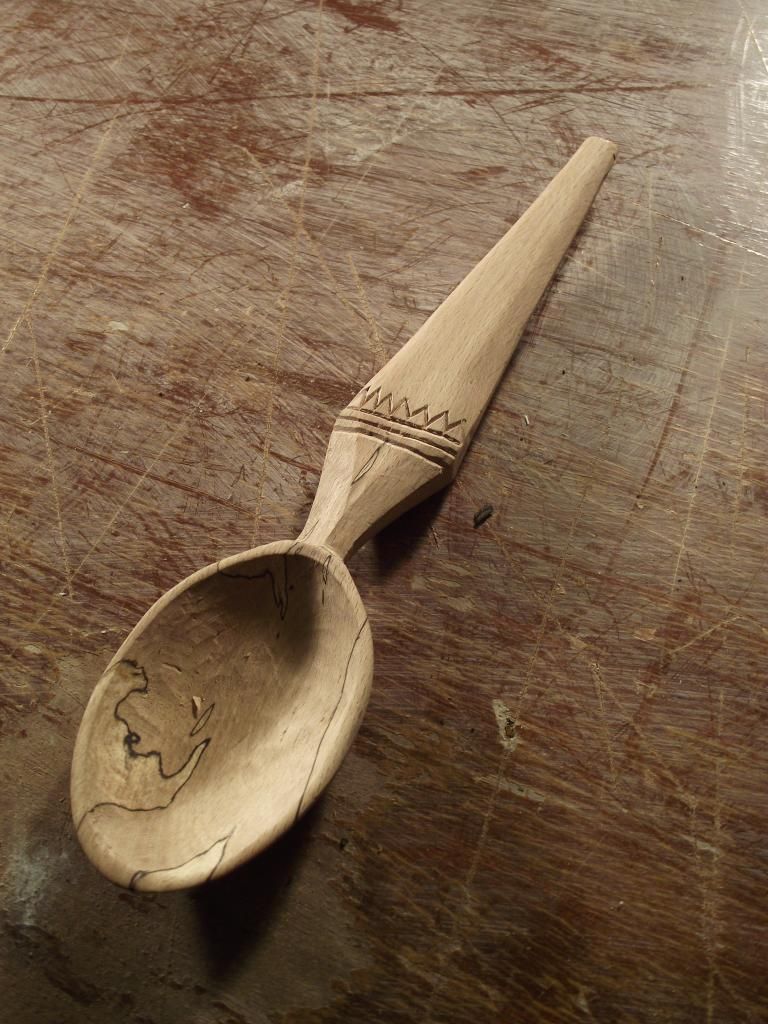
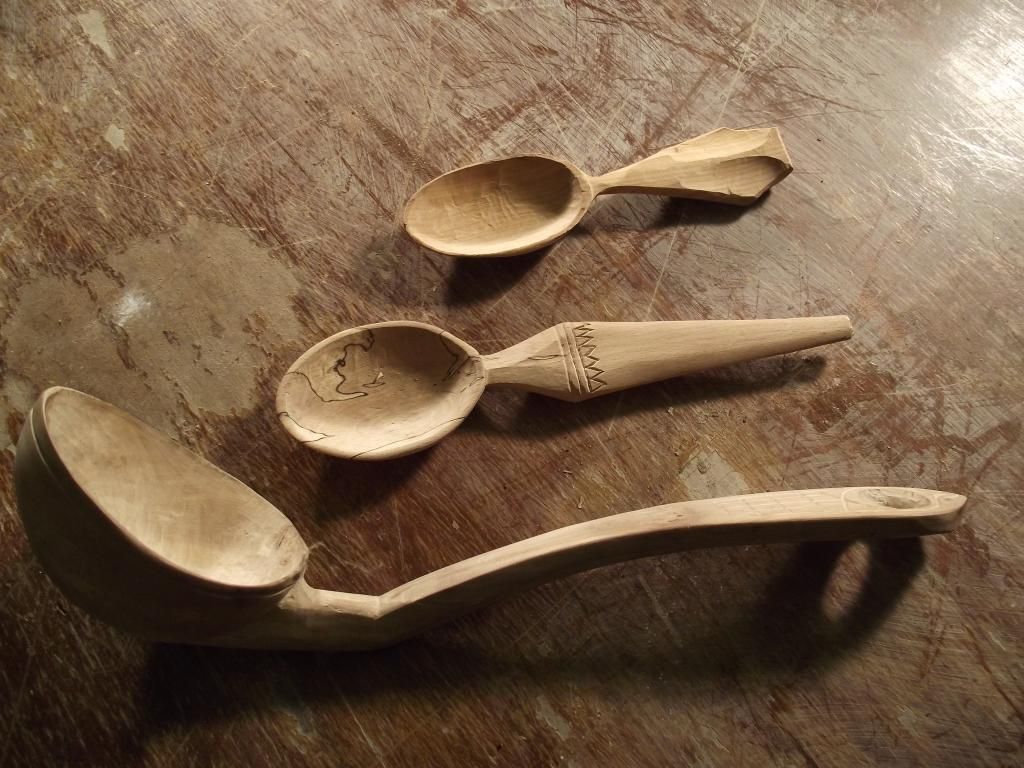
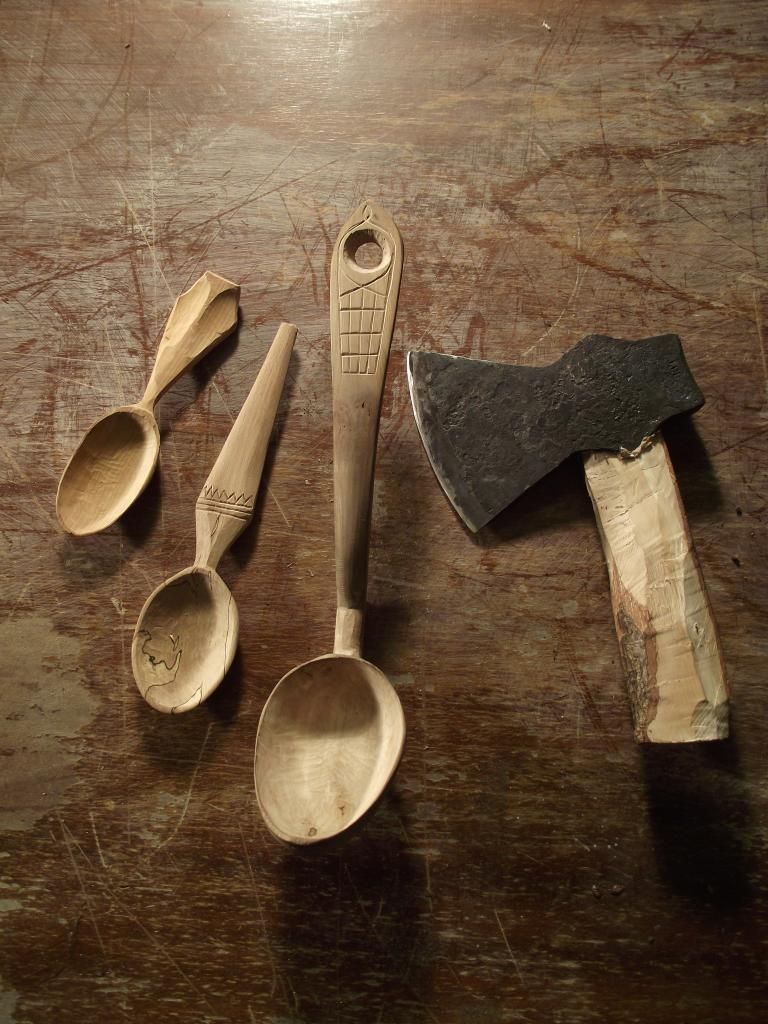
To better my understanding and therefore produce better, more versatile tools I have been working in timber to produce these spoons.


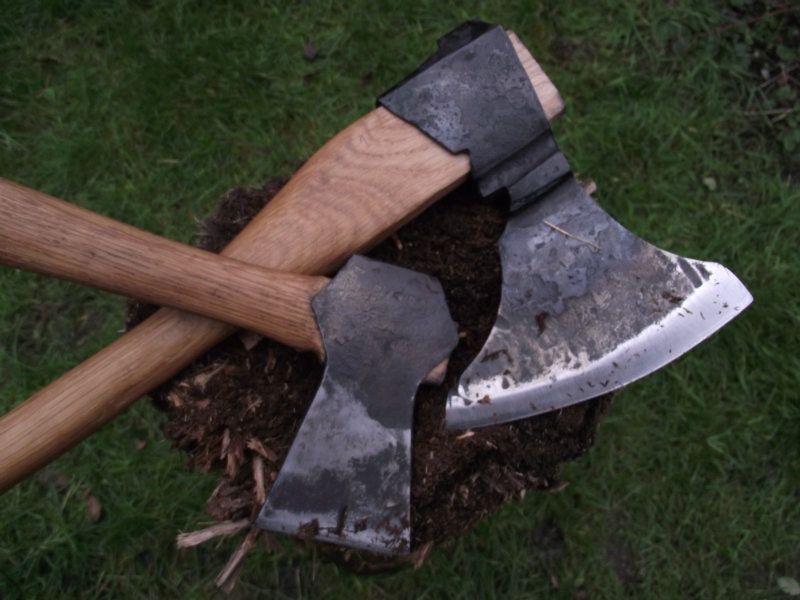
The hatchet is bowtie construction, with a heavy poll for balance.
 
These hatchets are available, forged to order.


Tuesday, 5 March 2013

The Second Sword


This sword is the brother to the one shown here some time ago in every sense, made from the same antique metal, made by the same method and the same hand. 
 
They are also a pair in their purpose as symbols of dedication, heritage and protection to be exchanged between Bride and Groom.

So, the piece in question was begun in this way,  a stack is welded together and folded a dozen times to create a unique, new piece of steel that aims for homogeneity but achieves the lustrous, patterned metal that enticed our ancestors.
 
Loud Video!


This folded steel is then drawn out into a long bar and divided in two.
Between these two pieces a new piece of low carbon mild steel is forge welded in, forming a “core” to the blade.
 
This is now ready to be forged into the form of the sword, with its important central groove or fuller being forged in, as not to compromise the outer steel and reveal the soft steel core.


The Tang was forge welded on separately. This method was widely used in the past.
 
At this final stage, I noticed some cracks at the tip of the sword, and on closer inspection it seemed likely that I had overheated this part of the blade during the forge welding. This presented a quandary as I did not want to start the blade again due to the significance held with both swords being made from the same steel, but I also could not satisfactorily finish and deliver a sword with such flaws.

So it became clear to me that I needed to repair this sword.

Many ancient blades exhibit evidence of having been reforged or welded at some point during their life. The sagas tell us that breakages were a fairly common outcome of sword fighting and craftsman of the day had to repair those blades deemed too valuable to simply discard as broken.

This is quite an achievement as a sword that breaks in use is a sword that has been finished, has been ground and polished and is thus- thin. Too thin perhaps for most smiths of any era to confidently re- forge weld flawlessly to condition that the blade can be re-hardened, re- polished and returned to use. But, this they did.

With this is mind I began preparing for the repair which firstly involved making more folded steel.

The damaged area of the tip was cut off and the folded steel was forged and divided into two pieces, each piece being carefully formed to the tapering shape of the new tip.


The new steel was welded very carefully as a single misplaced hammer blow would leave an impression beyond what could be removed with careful grinding and polishing.

 
This was perhaps the most intense 20 minutes of forging I have ever done and I am proud to say that the result was a flawless weld that is as strong, if not stronger than the rest of the sword.

The fact that this area welded so well can be seen in the final polish and etch of the blade, where the decorative grain of the sword suddenly changes to the new steel. The contrast has to be looked for to be found but is an element of detail unique to the life story of this blade and I feel adds to the sense of history this sword.


Careful etching reveals the subtle character of the steel.

The hilt on this sword was a lot more intricate and involved than the hilt parts of the first sword. The pommel is loosely inspired by type B as if tapers in two directions. The rough form was forged and hot punched with a drift that was the clone of the tang, ensuring a tight fit with no need for fettling.


The top and bottom guard were to be overlaid with brass and copper. This challenging technique was very popular form of hilt embellishment for centuries and involves the careful preparation of hundreds of grooves, undercut and inlaid with wire. The wire is then planished (hammered with a small hammer with a polished face) this method spreads the wires until they butt up against each other.


Eventually, the entire surface of the guards was covered in this way.

To commemorate the repair or healing of this blade I inlayed this symbol into the pommel.


A wooden core was made from Pear wood, this will be wrapped with brass wire to add another layer of detail and decoration.
 

The power of these objects can only really felt when there seen together, as a pair.


As whole as these look, they aren’t yet fixed together. The peening of the tang is left to the very last moment to allow for small adjustments. When this final act has been finished, the swords are together, one object made from many pieces. They come to life at this point their balance is final and they finally feel like a sword.


Monday, 4 February 2013

Winter Work


Busy weeks have gone by since my last update.
 
 I have made several axes, forged a Sword from my own folded steel, begun a composite pattern welded bowie knife as well as begun and finished some architectural commissions with my Father.


I would like to show some of father’s recent pieces before showing mine.
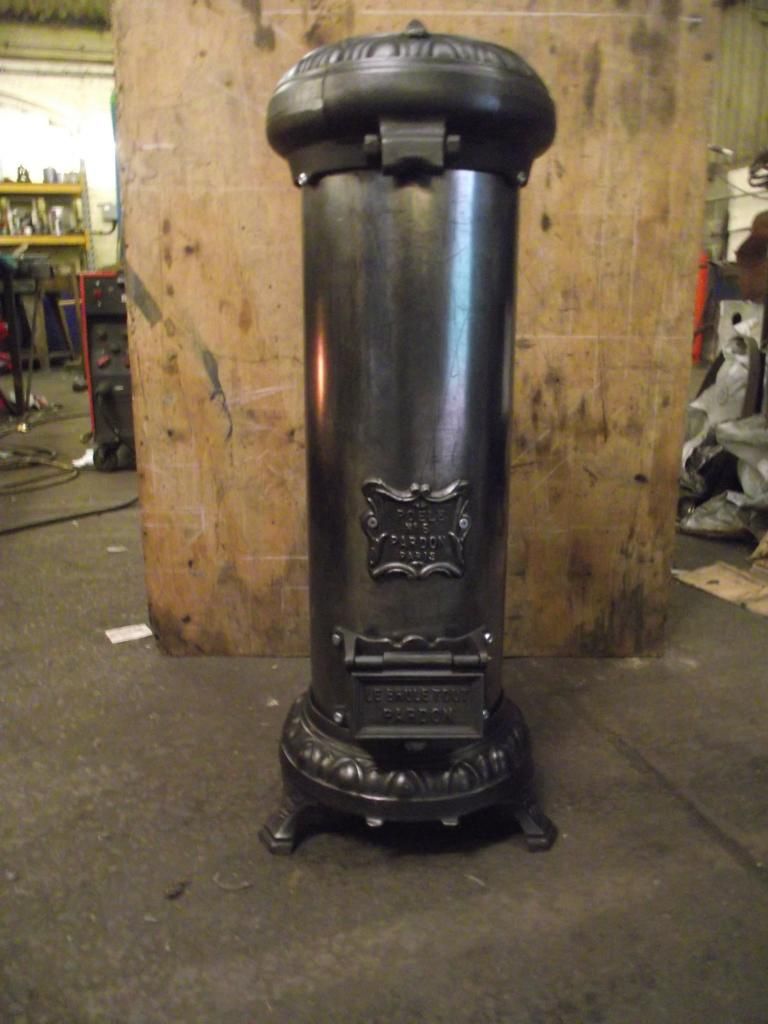
Firstly this antique, French made charcoal burning stove we restored from a ruined and rusty state. We had to make the three feet by 12” cylinder by hand to fit the allocated slots in the casting.  The Castings were decorated with laurel leaves and olives. It was a pretty thing and now will function for another century to come.
 
 
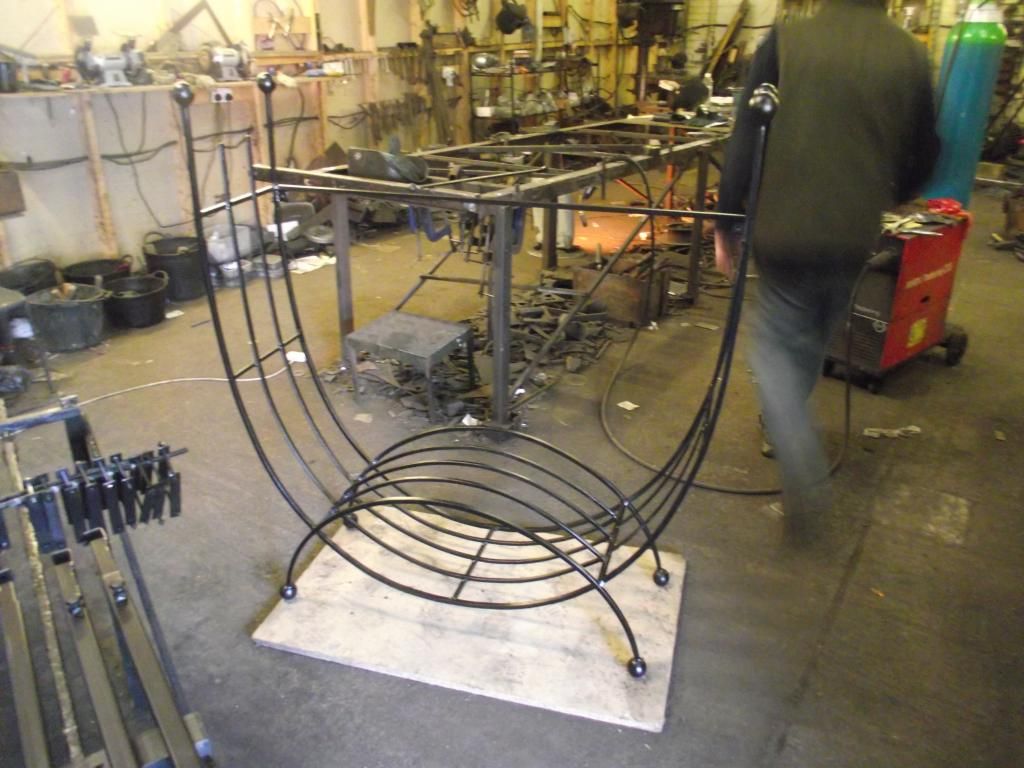
Another example of what my Dad has made recently is this large log basket with an understory for kindling.
Four feet tall and three and a half feet wide.


______________________________________________________________________________
 
I’ve continued my work into axes for wood working producing a few hatchets based on the full “bowtie” method used in the past.  


To be honest, I am very proud of these axes. The technique allows for a tremendous variety in design whilst remaining thoroughly rooted in tradition. Tradition is truth when it comes to tool making. After years of working in craft from timber framing to jewellery to decorative ironwork, I have found repeatedly the tried and tested tools and methods are by far and away the most ergonomic, efficient and beautifully ways to achieve our goals.

  The method in question here, the “bowtie”, creates a thick, strong poll which adds beautiful balance and heft. The method of drawing out the cheeks is a joy to me. The form of these axes can be entirely achieved by hand forging with little to no amendments with a file or grinder. In this sense it is, to me, pure.

These hatchet heads weigh 1.5lbs each and are available, made to order.  Another advantage to this symmetrical design is their ambidexterity, as they simply need to be hafted from either side for use with the left or right hand.
 Hafting in this case has been done with English oak we reclaimed from a building site some months ago.  The hafts were initially axe- hewn then draw-knifed and filed and scraped down for a smart finish. The eye was fitted tightly before the slot was sawn and a fitted with a solid walnut wedge.

 
At all times when producing tool handles, effort must be taken to observe the grain flow of the timber used, ensuring correct orientation for maximum strength and durability. Whilst there are certainly some woods that are unsuitable for hafting, many species that are over looked by larger tool and axe manufacturers are more than adequate for smaller axe types- particularly those axes that are used sensitively for specialised purposes such as carving and hewing.

Axes are a passion for me because their making involves such elegant process. If I can produce an axe for you, it would make me very happy.