There has been a lot of discussion on the forums about using
small hearths to melt low carbon iron and steel and carburise (adding of
carbon) it to produce a hardenable carbon steel.
After discussing some ideas with my friend, Dan Prendergast,
we decided to have some experiments trying to produce some of these “raw”
steels, at his workshop- Didbrook Forge in Gloucestershire.
http://www.didbrookforge.co.uk/
Whilst the produce of one of these small furnaces appears
very much like a true “bloom” from a bloomery furnace, the method is dissimilar
because in a melting hearth, you do not start with ore and thus the whole
process is much simpler.

Didbrook forge is a historic forge in the heart of
Gloucestershire, which has worked continuously as a forge for over a century
with parts of the house dating to the 17th
century and beyond. It was a true pleasure sharing the workspace with Dan for a
few days and being in an old workshop again, for me, was very reminiscent of my
father’s old forge, “The Wharf” which we left some 7 or 8 years ago and has now
subsequently been demolished. I grew up
knowing the old workshop and I have always felt comfortable in such spaces.


I first met Dan when working at Hampton Court Palace in
London and discovered we had shared interests in Bladesmithing, Ironwork,
history and tradition. We had crossed paths before without meeting as I had
callously bought a powerhammer that Dan had been keenly watching for while…
But back to our melting.
We had three attempts, each time altering the furnace a
little but each time using similar ingredients of mild steel bar and a small
quantity of cast iron, perhaps ten percent on each melt, which we believed
would likely add bursts of high carbon to the mix.

For fuel, were supplied with some locally produced charcoal
from old coppice woodland, this charcoal was very good and clean to work with,
chopping well with a pleasant clink.
Charcoal I have used previously had left me so filthy with the soot that
I was hesitant to handle the stuff too much, but this batch barely left a mark
on the skin when handled.
It was either Mark Green or Dan O’Connor that I read had done a great deal of research
into the variability of charcoal and I remember that one of the traits of good
forge/furnace fuel was this cleanliness.
The ‘Coal was roughly split and chopped and half-heartedly
sieved to separate the very fine finings and powder from the proper sized
pieces before the hearths were lit.

The first “furnace” was built quickly with house bricks and
a rich natural clay from Dan’s garden, using the water cooled tuyere from one
of the forges. The furnace was approx. 10 inches square, which with hindsight
was certainly much too large as we used much more charcoal than we needed to- That
said, it did work.


We were both surprised to find a “bloom” in the basin,
swaddled with ceramic slag, weighing about 1200g. This first bloom was allowed
to cool before we cut it up to investigate and process it. We found it to be a
high carbon material so we decided to forge the pieces into strips, weld and
fold and weld again until we felt it was suitably consistent.

These processes
were undertaken with striking sledge and hand hammer as Dan’s very beautiful,
19th century, French made power hammer is not quite up and running
yet, so it was porridge power all the way.


We then divided the
material and each forged a knife.


Dan had in his collection an excellent little book called “Knives
and Scabbards” which featured artefacts taken from excavations in London dating
to the medieval period. One blade form
took my fancy and I decided to produce a blade in that style as I felt the Hearth
steel’s material aesthetic qualities would suit it well.
The hearth steel was forge welded in coke onto a wrought
iron back and tang to maximise the size of the blade, but also to best display
the limited amount of the decorative steel we had available.
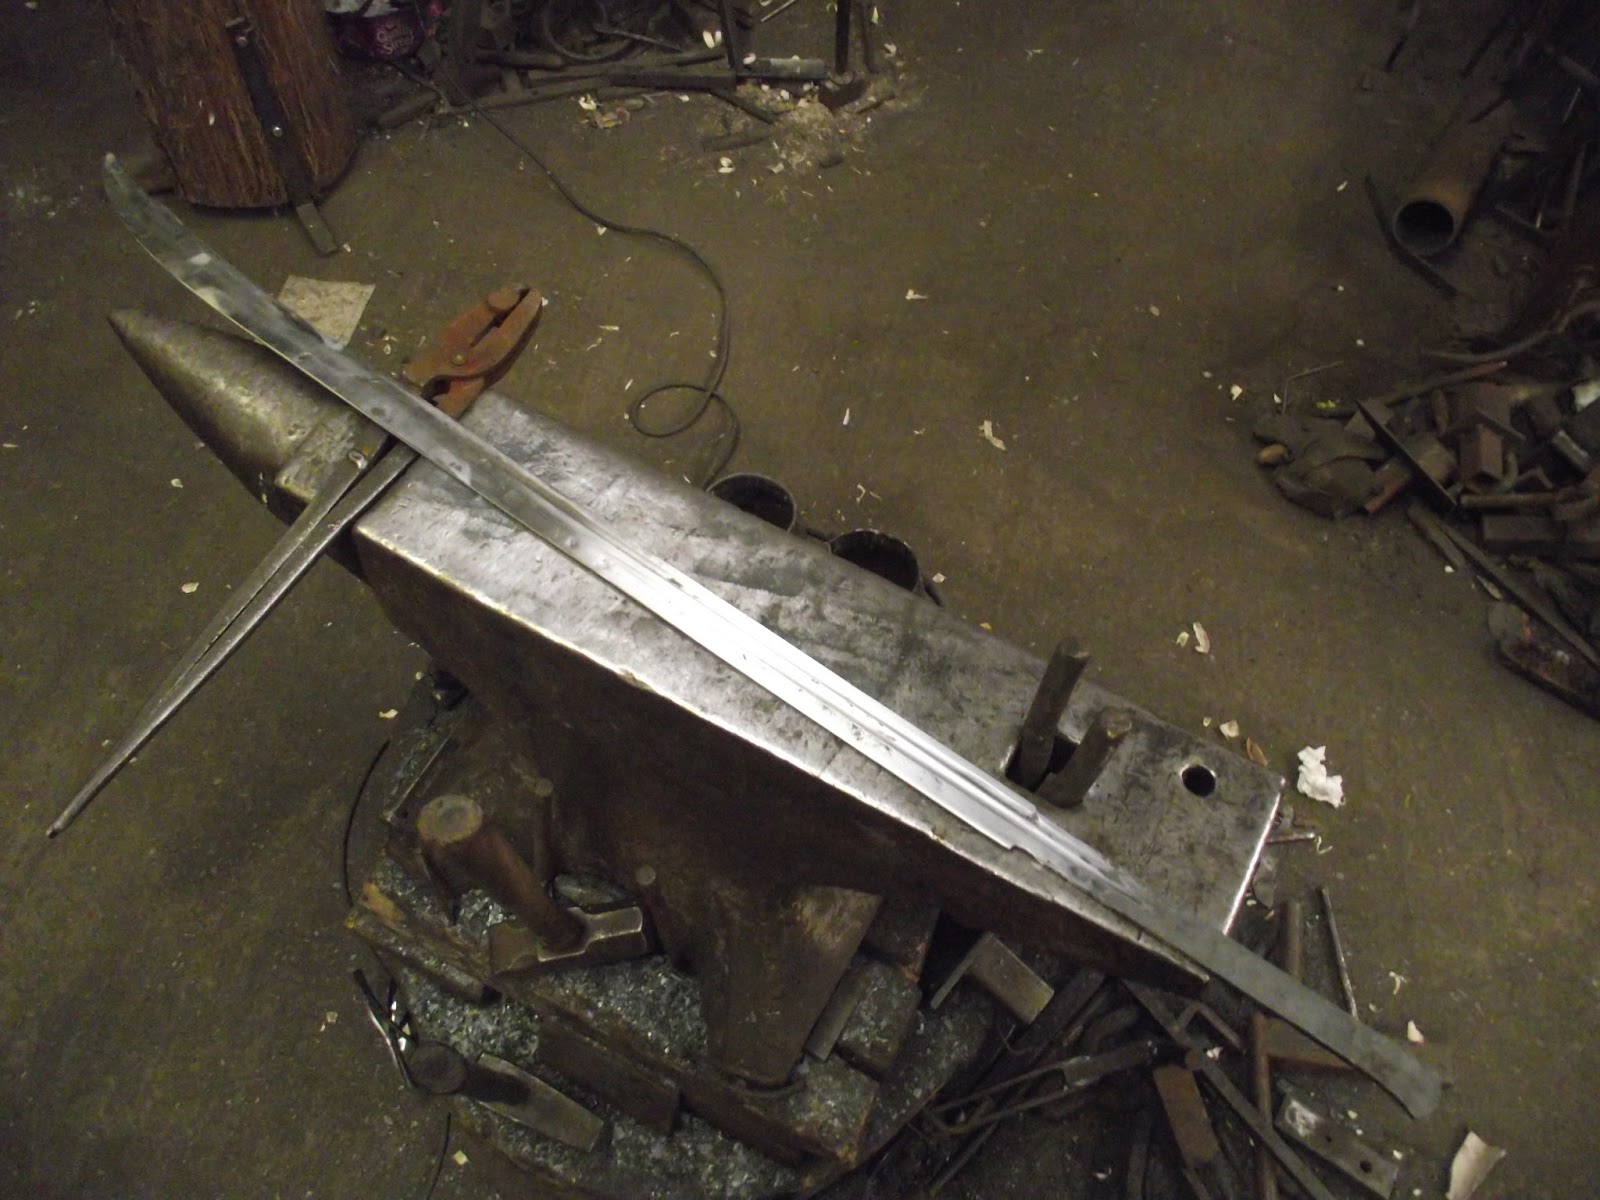
The knives were both quenched in warm water and took great
hardness and did not crack. Dan proceeded to polish his knife and etched it,
revealing the wonderful character but also a distinct hardening line. My knife
has not progressed this far but I am optimistic for the vibrancy that will be
displayed in the steel once it is finished. The knife I am copying had a small
brass bolster which I will replicate. The knife will have horn or antler scales,
fitted with hand-made brass or copper tubular rivets. I will of course share
its progress here when I get round to it. We were both surprised and pleased at
how well the metal performed and we decided to proceed with a second burn.
This time we forwent the brick furnace, instead opting for
an all clay and straw structure with a much reduced diameter and thus improved
fuel consumption.


The second burn was excellent, taking under an hour before
we decided the tuyere had become obstructed with the bloom and we stopped
feeding it.
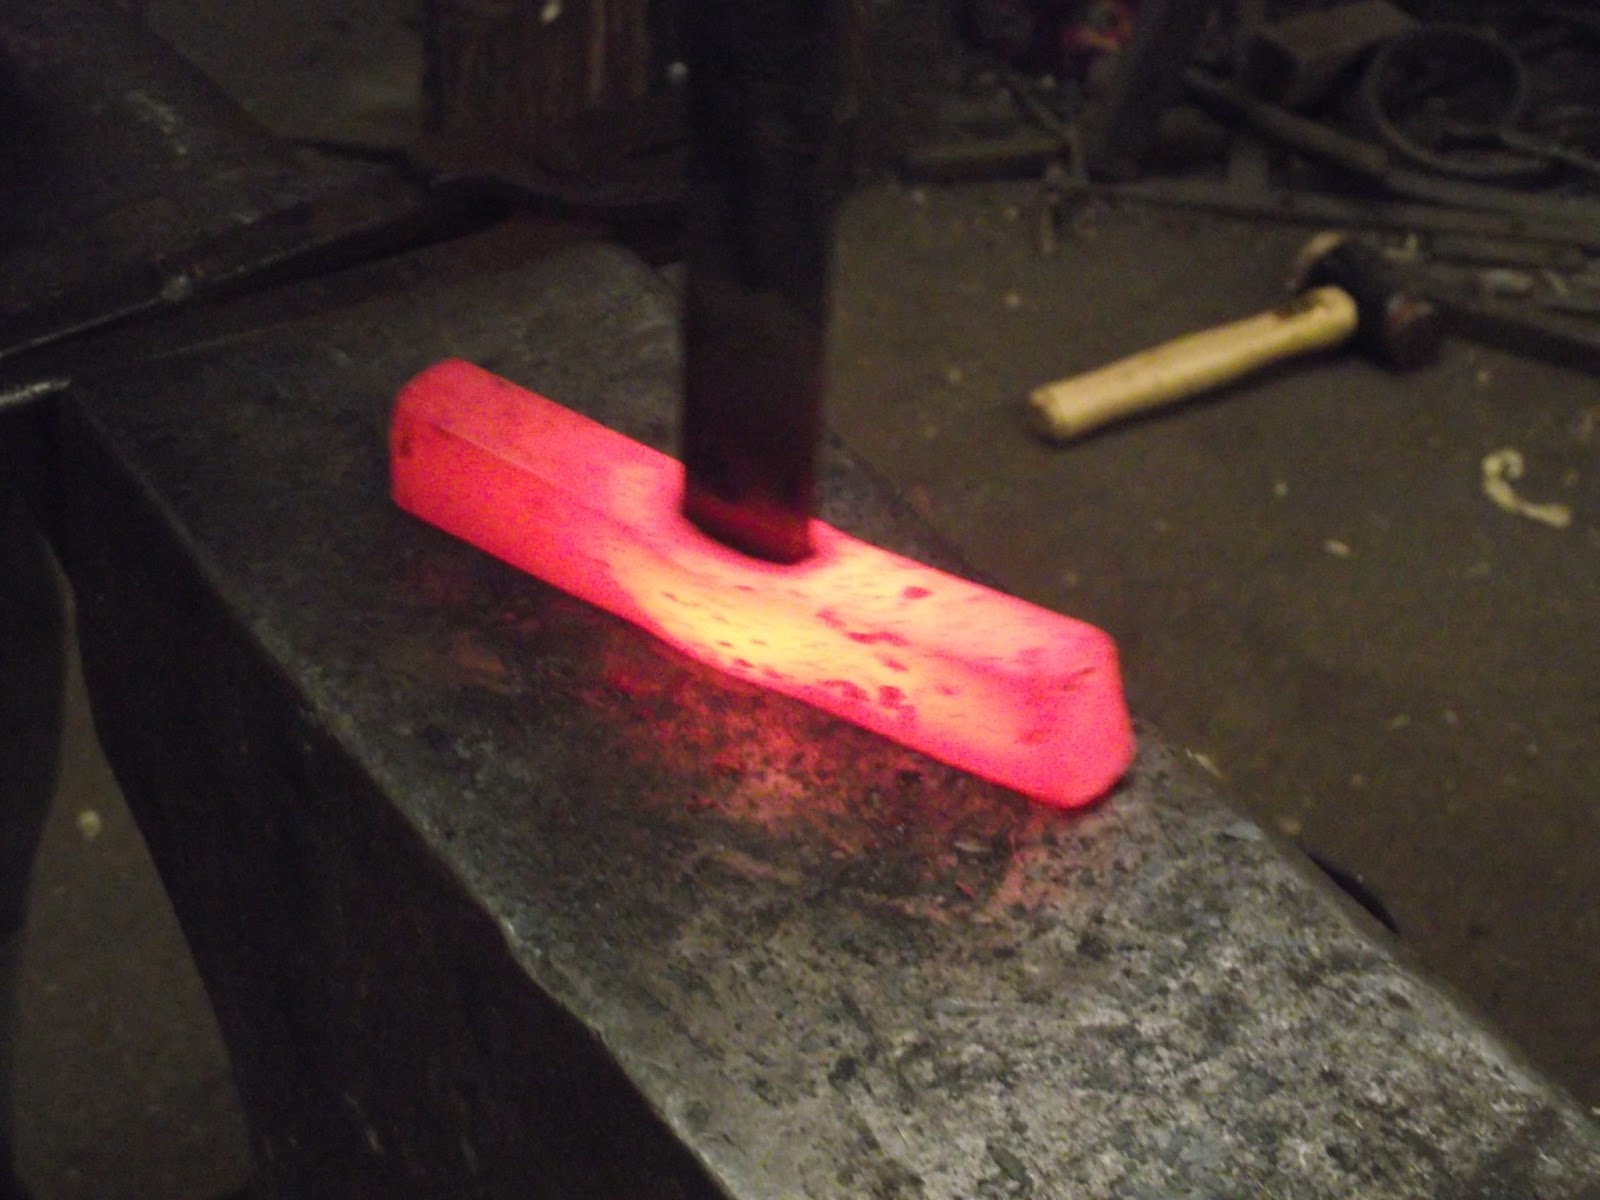
This time we forged the bloom right away after breaking the
furnace open. Working the bloom quickly with striking sledge and hand hammer- despite
being hot, the bloom was noticeably tough and resisted our force, yet it
displayed no “red-short” brittleness and held together very well with little to
no pieces coming off.


Once we began squaring the stock it became clear that there
was a large split running neatly through the piece, dividing it nearly in half.
We decided to separate these two halves and proceeded to work them separately
as Dan’s forge has two large coke hearths.
I was struck with how solid the steel felt under the hammer
and we were both able to forge the material into barstock without folding the
bloom at all.

Spark testing again suggested some good high carbon content
Dan did a quick polish and etch and it showed a lot of clear
activity.


These pieces were divided equally into seven parts before
being dispersed as much as possible in a stack to ensure optimum carbon
distribution, these were welded and folded an number of times and left as stock
for Dan to approach at a later time.
The third furnaces followed more closely to the second burn,
only with more stout walls to help prevent collapse. The hearth bloom we
extracted from this furnace weighed 1400g and sparks with good carbon on each
of the points tested.


I took this raw bloom home to be forged at a later date as I
have a power hammer to help with the processing.
This last burn took just over two hours from digging the
earth out of the yard, mixing the clay, building a furnace, lighting and doing
a burn and extracting the piece. I think we were both impressed at the speed of
the turnaround.
This was a fun experiment that produced some great steel,
I’m sure we’ll do it again, perhaps with a smelt as well….
Thanks Dan, Vivian, Peanut and Betsy, it was a
real pleasure.