Two days ago I began welding and folding the steel to create
the desired number of layers. Today the
sword is fully forged out with a tang forge welded on and I have begun the
polishing.
Here’s the life story of this sword so far.
This sword was born from this 10 layer billet.

The initial welding pass. After this the billet was drawn
out,


All the surfaces were ground clean


The billet was slashed to allow the folding (quadrupling the
layers to forty)


This was welded together, drawn out again
and chopped into four (120 layers) and welded again. Shown next
to partner billet.

This was folded a further three times and forged out to a billet around 16” long 2” with and half an inch thick. I did a very quick polish and etch to see what the steel was looking like. This was around a two minute etching in ferric chloride.

I decided that the steel did not require any further folding
and so I moved on to the next stage of the swords manufacture which is to forge
weld the two halves of folded steel around a soft core of iron or in this case
mild steel. This is a medieval method of sword construction that has several
benefits to consider.
So, the billet of folded steel was cut in half and polished
on the internal face to allow a cleaner initial weld and a rod of 16mm low
carbon steel was MIG welded into the centre of each side. It would be possible
to do without the arc welding, with careful use of tongs, but it just makes
life simpler to know that the three components are secure to start with.


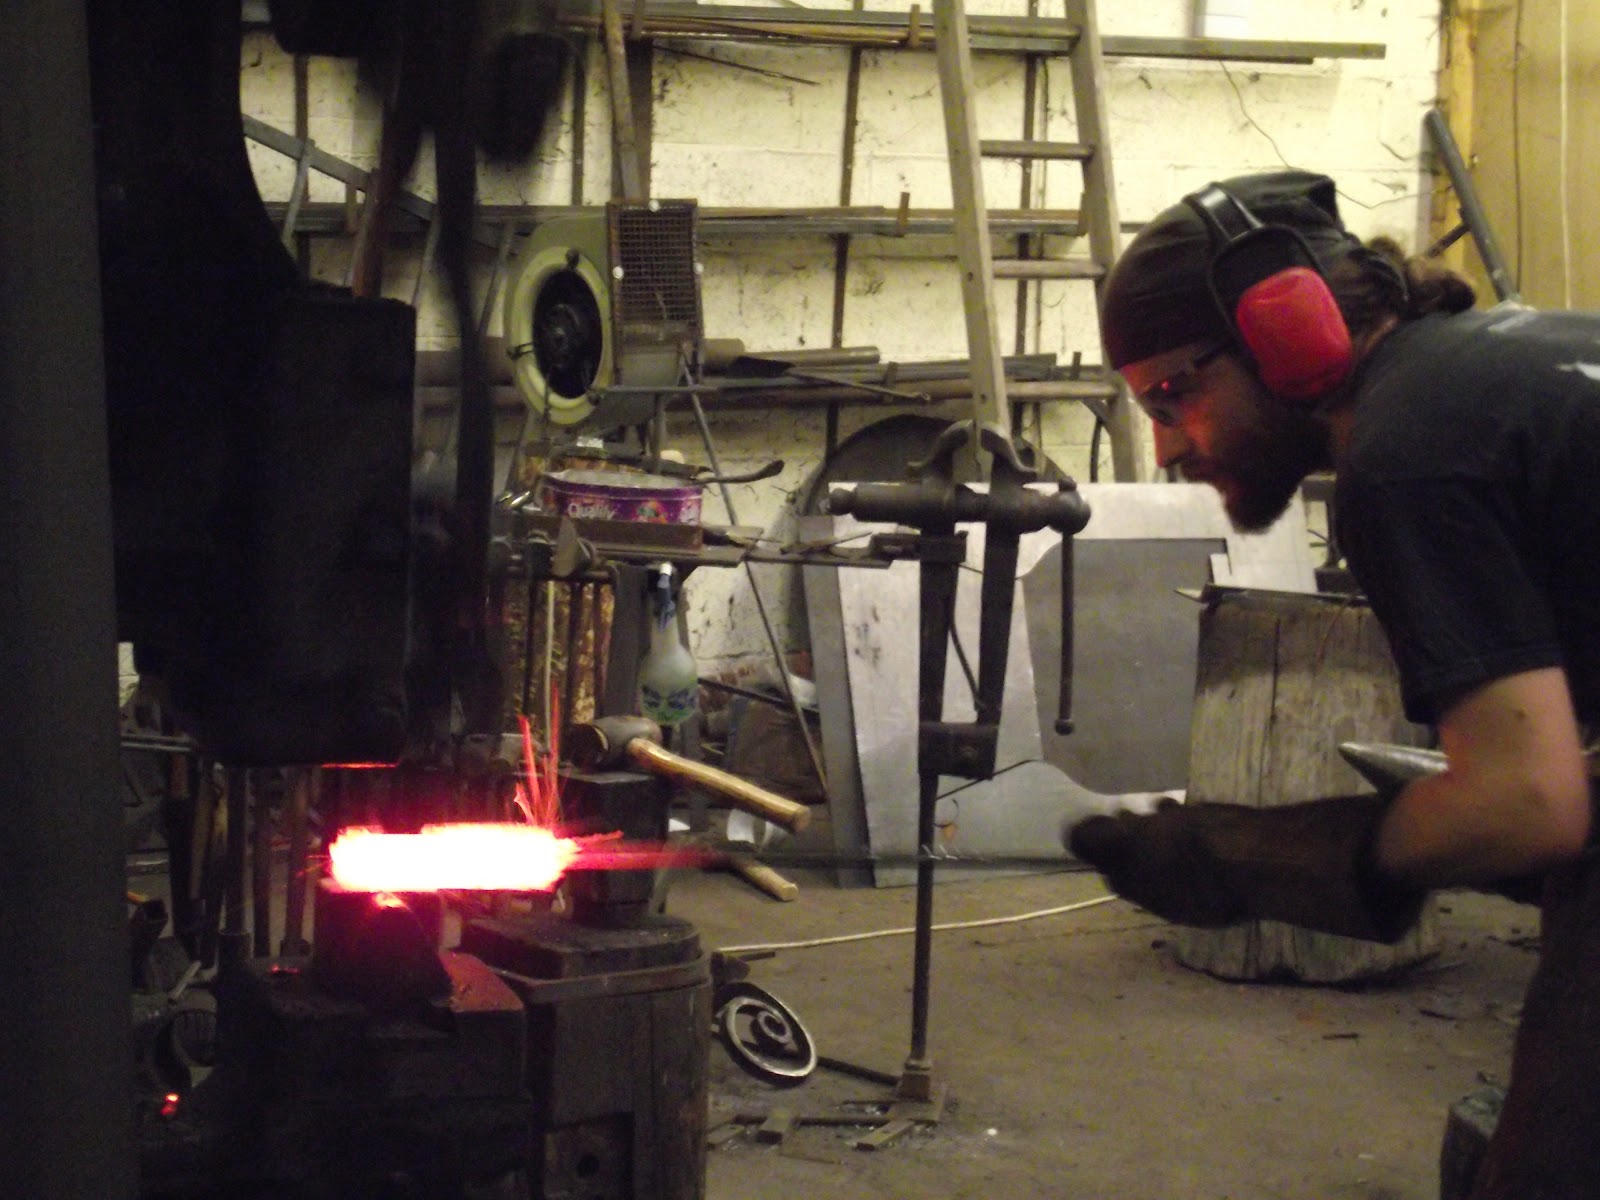
When at temperature, the steel envelopes the core and then
welds to itself seamlessly. This took several passes under Goliath as I wanted it to all be done at the hottest
possible temperature. Lots of flux was used and the steel was allowed to sit at
the high temp for several minutes each time to ensure the borax could really
get to work on all surfaces dissolving any scale.

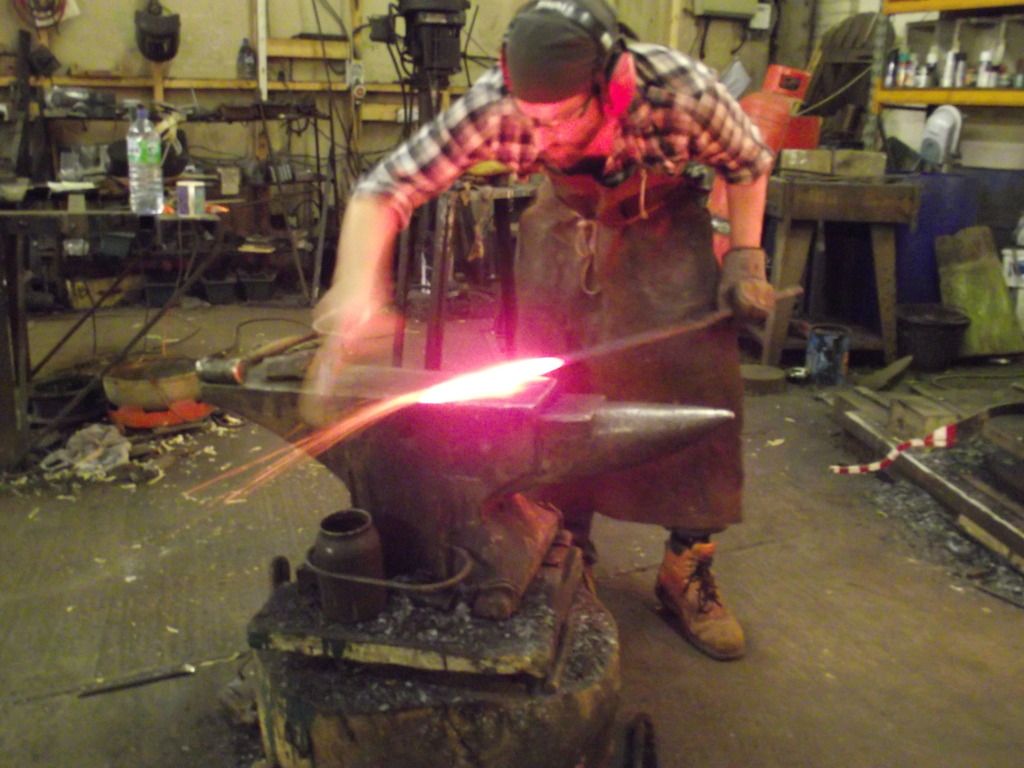
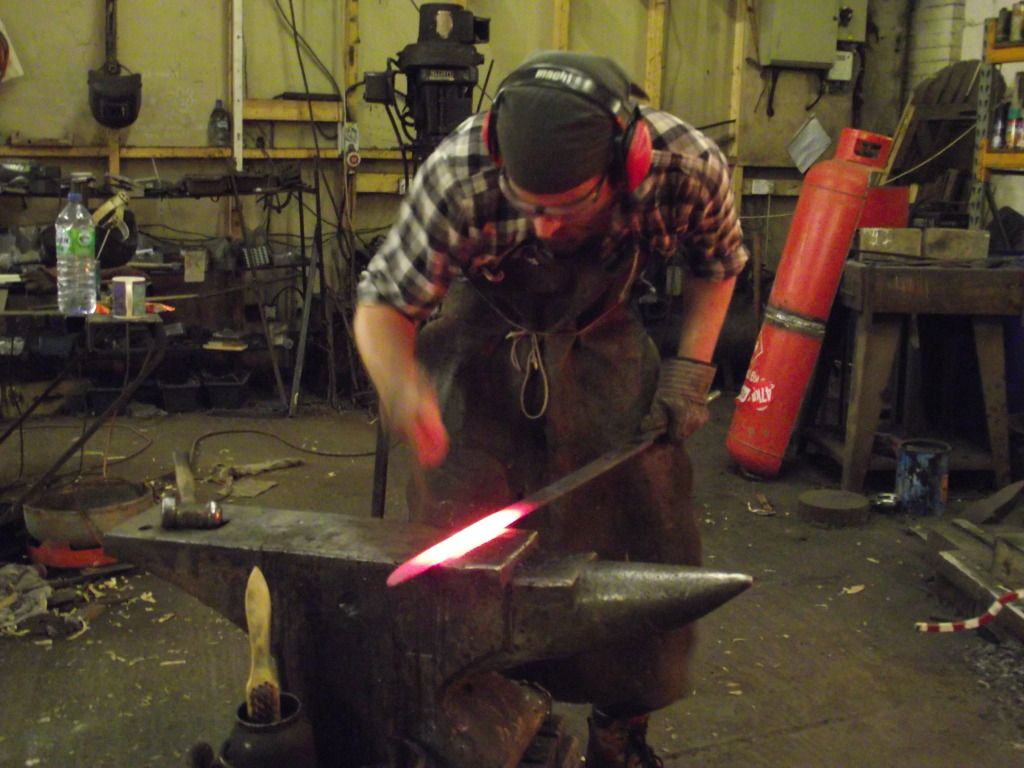
The gap closes up and we can begin drawing out the steel to
the desired length as well as setting in the distal taper.


Once the rough length has been achieved I switch to using
just hand hammers.
and thats all i can show you tonight. thanks for looking. more tommorow.
No comments:
Post a Comment